Lab 1: Introduction to the Web platform
In this lab, we will learn:
- How does the Web work? What happens when I enter a URL in my browser and hit Enter?
- What languages are used to create webpages, what is each for, and what are their differences?
- How to write good HTML?
- How do CSS and JS look like, and how do we include them in our HTML?
- How can we create our own webpage and publish it on the Web?
Table of contents
Check-off
Asynchronous lab checkoff is no longer one-and-done. To receive a lab checkoff, please submit your work asynchronously by filling out this form. TAs will review your lab and post your grade. If you do not pass, you will be able to fix any issues and resubmit or receive help in an office hour until the deadline.
Lab 1 Rubric
To successfully complete this lab check-off, ensure your work meets all of the following requirements:
Repository + Publishing
- A GitHub repository exists for the project (e.g.
portfolio). - The repository is published to GitHub and the site loads at
https://YOUR_USERNAME.github.io/YOUR_REPO/. - Changes you made appear on the live site (i.e., you committed and pushed).
Required Site Structure
- Your repository includes the following pages:
index.html(home) in the repository rootprojects/index.htmlcontact/index.html- A resume page (e.g.
resume/index.htmlorcv/index.html)
- Each page has:
- A meaningful
<title>in the<head> - A top-level
<h1>that matches the page content (Name/Home, Projects, Contact, Resume)
- A meaningful
Navigation + Relative URLs
- Every page includes a navigation menu
- The navigation includes links to all pages, including the current page
- Navigation works correctly from every page
- The navigation includes a link to your GitHub profile that opens in a new tab
Home Page Content + Image
- The home page includes:
- Your name
- A short bio/description
- An image with
alttext
CSS File + Linking
- A
style.cssfile exists in the repository root - Every page links to the stylesheet
Contact Form
- The Contact page includes a working contact form.
- The form has
mailto:+GETset correctly. - The form includes fields for email, subject, and message, plus a Send button.
- Submitting the form opens a new email draft (or generates a mailto URL).
Resume Page: Semantic Structure
- Resume content is organized with semantic HTML:
- Uses at least 2
<section>elements (e.g., Education, Experience, Skills) - Uses headings/lists appropriately (not everything is plain paragraphs)
- Uses
<time>for at least 2 dates (where applicable)
- Uses at least 2
Prerequisites
This lab assumes you have already gone through the setup instructions in Lab 0 (except those marked for Lab 2 or later), i.e. that you have (latest versions of, where applicable):
- Google Chrome
- Visual Studio Code (and you have verified Emmet works)
- Git that is set up with your name and email
- A GitHub account (upgraded to Pro via the GitHub Student Developer Pack)
- GitHub Desktop, connected to GitHub and with VS Code set as the default editor
Part 1: Web fundamentals
Part 2: Creating our own website from scratch and publishing it on the Web
If you are a first-time coder, you are welcome to use this Skeleton that we created to help you go through Lab 1. You can also check these video tutorials that will help you with the first steps.
At the end of this lab, for reference, you should have a webpage that looks like this.
Step 1: Setup
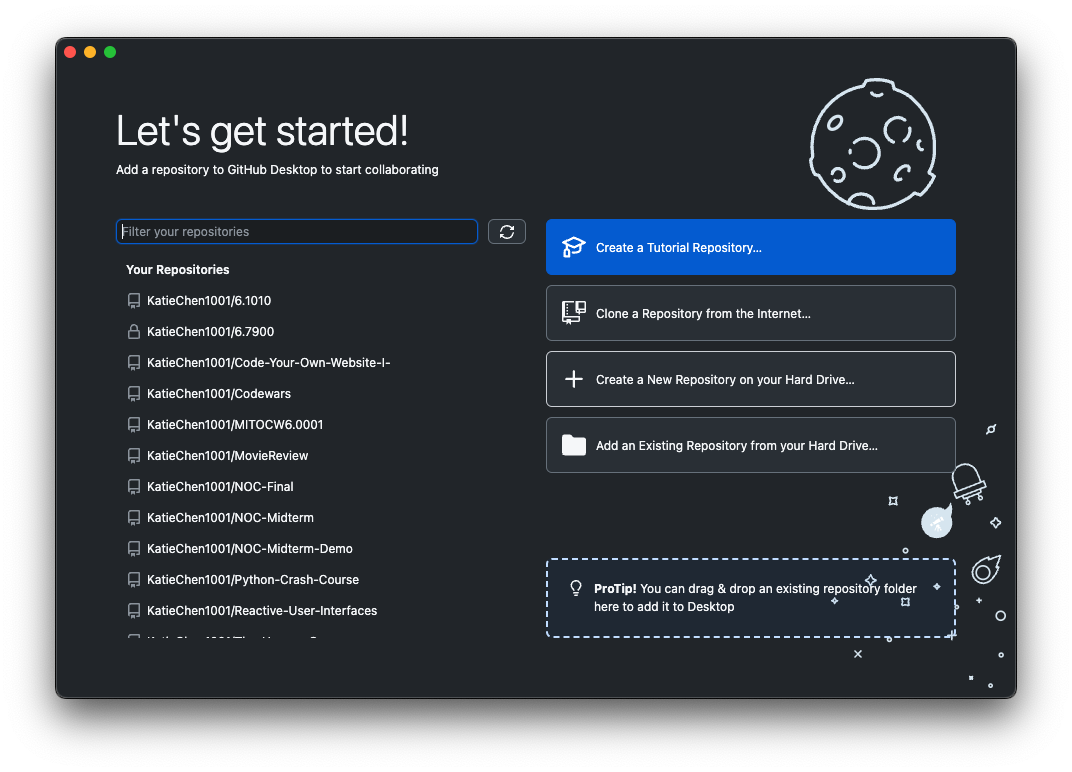


- Create a new repository with GitHub Desktop called
portfolio(or anything else you want, but the rest will assumeportfolio) - Publish it to GitHub (verify that it worked by visiting
https://github.com/YOUR_USERNAME/portfolioor clicking Repository > View on GitHub in GitHub Desktop’s menu) - Open it in Visual Studio Code (Menu: Repository > Open in Visual Studio Code)
Step 2: Create a basic HTML page

- Create a new file called
index.htmlin the root of your repository - Type
!and hitTabto expand the Emmet snippet into a basic HTML page - Change the page title (
<title>) to “YOUR_NAME: Personal site and portfolio” - Add a
<h1>with your name - Add a
<p>with a short description of yourself (if you can’t think of anything, just typeloremand hit Tab to generate placeholder text; just make sure to edit it later!) - Save the file. Open the file in Chrome and verify that it works. To view your changes in Chrome, right click on index.html and select ‘Open with Live Server’.
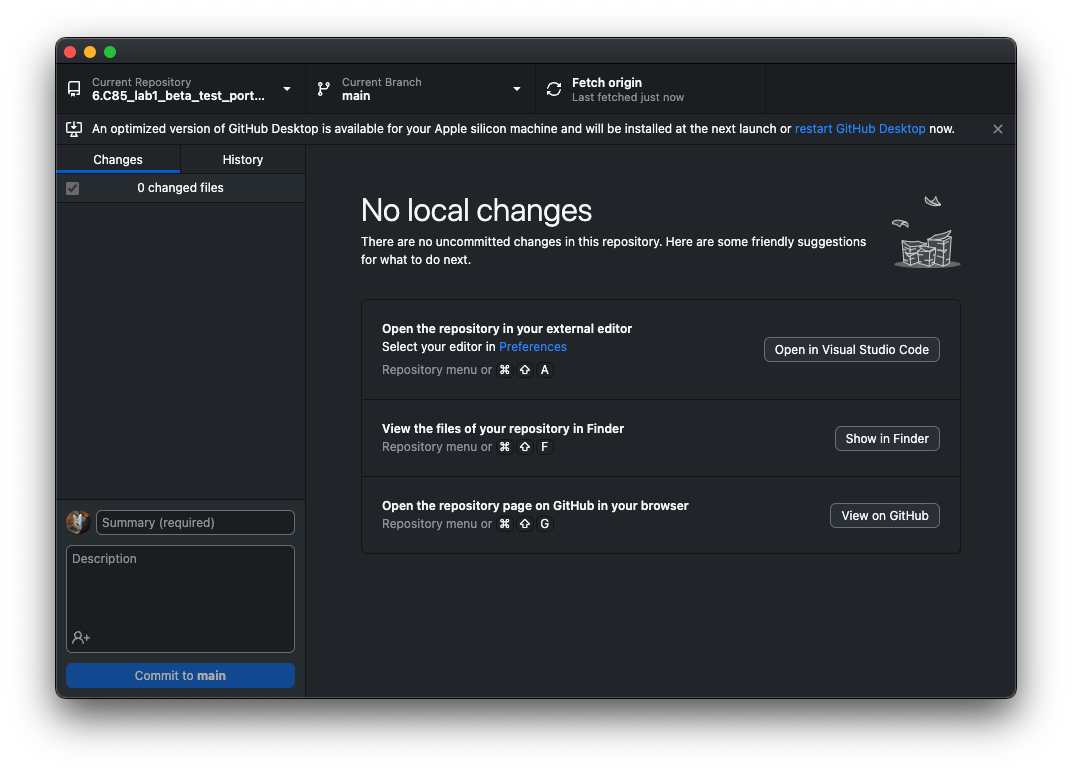
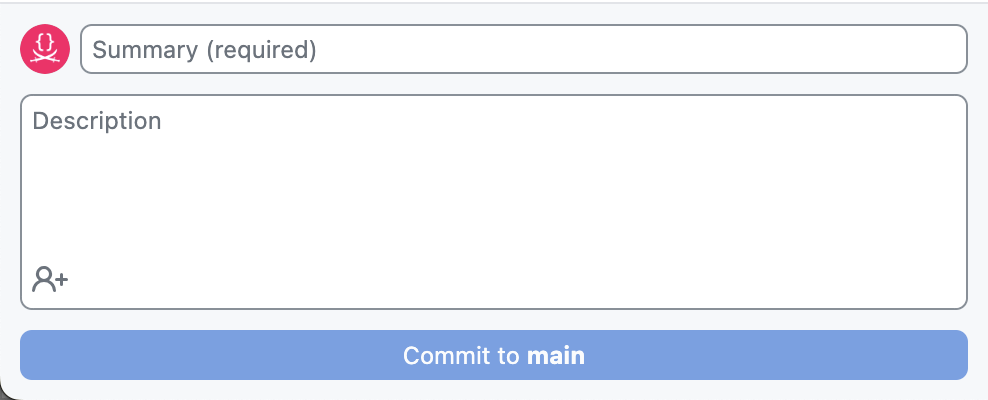
- Commit and push your changes to GitHub
Remember that committing and pushing your changes to GitHub is a two-step process: First, you commit your changes to your local repository:
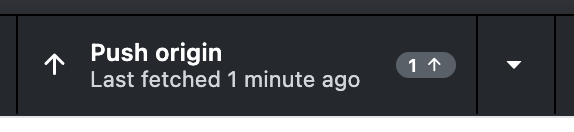
Then you push your changes to your remote repository on GitHub.
If you prefer to use git from command line instead of GitHub Desktop, you can commit and push using the following steps:
- Quick Open a terminal in VSCode (Ctrl+P) or (Command+P) on mac
- Add your changed files to the staging area using
git add <file>...- Commit your changes using
git commit -m "<some commit message>"- Push your changes using
git push
Step 3: Publish your site on GitHub Pages

GitHub provides a free hosting service called GitHub Pages that is perfect for hosting static websites like the one we are creating. It gives you a URL like https://YOUR_USERNAME.github.io/YOUR_REPOSITORY_NAME that you can share with anyone to show them your site, but you can also use your own domain name if you have one.
- Open your repository on GitHub (On GitHub Desktop: Repository > View on GitHub)
- Click Settings
- Scroll down and click the
 section
 - Select “main” as the branch and click Save
- Check “Enforce HTTPS” (usually this is already checked for you)
- Wait a few seconds for GitHub to publish your site, then refresh. Then click
 to open your site in a new tab. That’s it — your website is now live! 🎉

Selecting main as the branch
In the following steps, it is implied that you first test your changes locally in Chrome, then commit and push them to GitHub, and then refresh your site to verify that the changes are live (after waiting for a few seconds).
To view your changes in Chrome, right click on index.html and select ‘Open with Live Server’. Now you can take test your changes before committing.
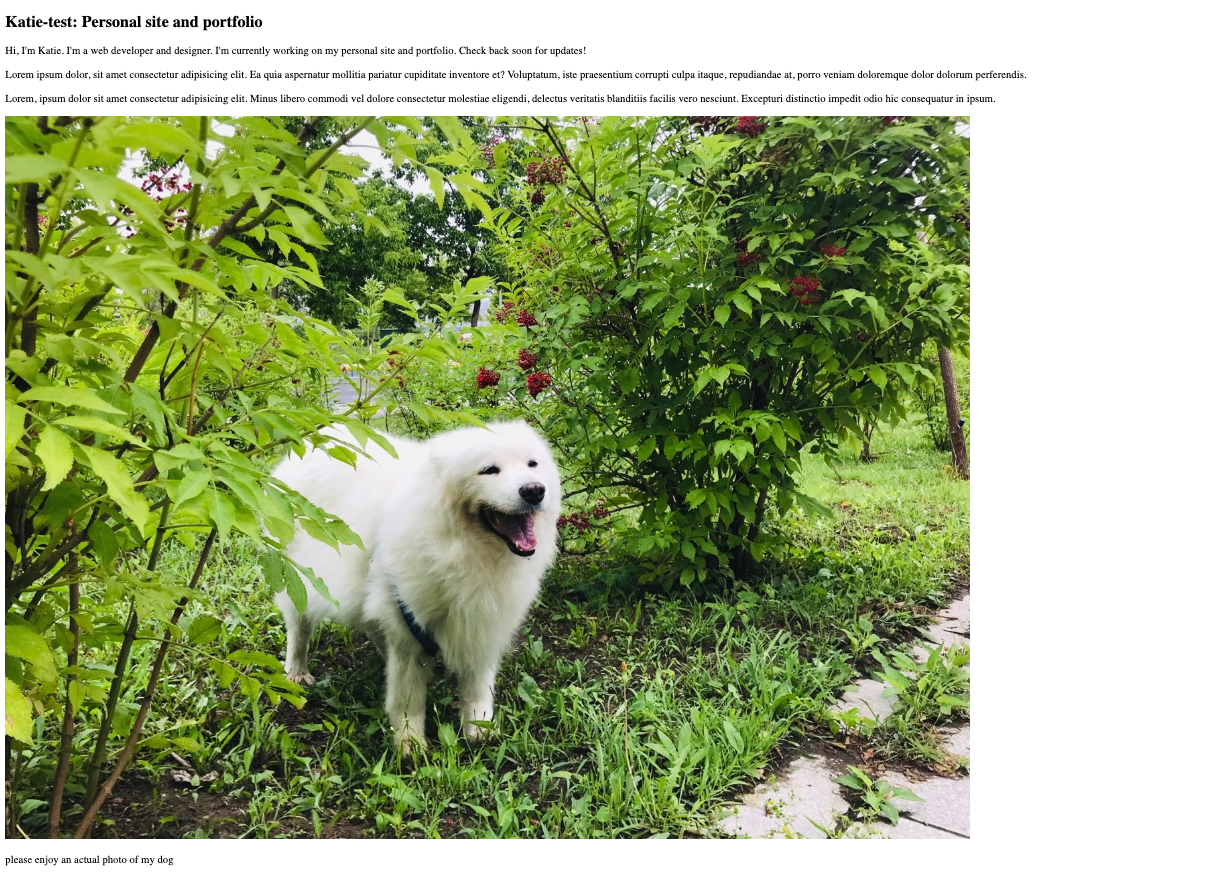
Step 4: Add a photo
- Create an
imagesfolder in the root of your repository - Find a photo of yourself (or anything else you want) and save it in the
imagesfolder - Add an
<img>element to your HTML page, with thesrcattribute set to the path to your image file (images/your-image-file-name.jpg) - Add an
altattribute to the<img>element with a short description of the image as you would describe it to someone who cannot see it.
Step 5: Add a CSS stylesheet
- Create a new file called
style.cssin the root of your repository - Add the following CSS to the file:
body { /* Set line height to 1.5 times the font size and use the OS’s UI font as the website font */ font: 100%/1.5 system-ui; } - Link the stylesheet to your HTML page via a
<link>element in the<head>.
Step 6: Add more pages and a navigation menu
- Create two new files:
projects/index.htmlandcontact/index.html. - Set their title and add a
<h1>with the page title in each. - Add a navigation menu in each page (using
<nav>), with links (using<a>) to every page in your site, including the current one. Here, you should use relative URLs to make references no matter the domain they are published on. - Link your stylesheet to your two new pages, like we did for the homepage in Step 5.
- Add a link to your GitHub profile to the navigation menu with
target="_blank"to make it always open in a new tab.
The directory structure at this point should look a bit like this:

When linking to other pages using relative URLs, double-check that the links are correct, depending on the location of the file that contains the links.
Why do we use index.html? In most web servers, index.html is a special name that is used as the default file to serve when the user visits a directory. This means that users can type https://YOUR_USERNAME.github.io/YOUR_REPOSITORY_NAME/contact/ instead of https://YOUR_USERNAME.github.io/YOUR_REPOSITORY_NAME/contact/index.html.
Step 7: Basic contact form
In this step we will add a functional contact form to the contact page. When the user submits the form, their email client will open with a new email to you, with the subject and body prefilled with the values they entered in the form.
Contact forms on the web are not made like this anymore, and for good reasons:
- This method exposes your email address to spammers. One of the primary reasons for a contact form is to not expose your email address publicly.
- The message formatting is awkward and not very user-friendly.
However, making a contact form properly would require server-side code and/or a third-party service, which is beyond the scope of this first lab.
- Create a
<form>element incontact/index.htmland set:- Its
actionattribute tomailto:YOUR_EMAIL_ADDRESS(e.g.mailto:foo@example.com) - Itsmethodattribute toGET - Why do we need the last one? Experiment by using the form without it and see what happens!
- Its
- Create the contact form fields. Here, we need at least:
- A single line text field (
<input>) for the sender’s email address withname="email"andtype="email" - A single line text field (
<input>) for for the subject withname="subject"(you don’t needtype="text"as that is the default) - A multiline text field (
<textarea>) for the actual message withname="body"
- A single line text field (
- Wrap each field in a
<label>with the field name as its contents - Add a submit button with
<button>(you don’t needtype="submit"as that is the default)
If you do not feel comfortable publising your email address on this site, you can use your noreply email assigned to you by GitHub. You can access this at https://github.com/settings/emails under “Keep my email addresses private.”
The directory structure at this point should look a bit like this:
While developing, you will likely need to try your form multiple times. Add default values to all fields via the HTML (using the value attribute on each <input> element and the <textarea> content) so you don’t have to type them every time.
Our contact form should now be functional albeit not very pretty (but don’t worry about that, that’s the job of CSS).

Try submitting it and see what happens!
Don’t worry about the appearance of your contact form, we will fix that in Lab 2! While it can be tempting, do not use tables to lay your form out in a grid with the form labels next to the form fields. Remember that HTML describes content, not presentation, and tables are for tabular data, not layout. We will see how to use CSS to lay our form out in a grid in Lab 2.
Step 8: Adding a CV/resume page
This is a more freeform step, with the goal of getting you to explore HTML on your own and experiment. Add a new page to your website (and link to it from the navigation menu) that contains your CV or resume.
If you do not want to publish your CV on the Web for privacy reasons, you can use fake data for all or part of it. In that case, try to keep the structure as close as possible to your real CV and simply change the actual data (e.g. names, dates, places) so that you are still solving a realistic use case.
Structure the different sections of content with <section> elements. Think of <section> as the units of content that you would list in a table of contents for that page (which is exactly how they are exposed to assistive technology users).
You may also find <article> useful for structuring independent, self-contained units of content (“article” as in “article of clothing” not “newspaper article” — yes, it is confusing!).
Elements you will need (excluding those outside <body>):
- Headings, paragraphs, lists
<a>for links<section>and<article>(see above)<time>for dates
Elements you may need:
<header>for<section>or<article>headers that are more than just a heading<img>in case you want to include icons or logos of organizations
Don’t forget to preview your changes locally first! Then, when you’re happy with them, commit and push to your repo on GitHub.
HTML resources
Tools
- HTML Validator: Catch many HTML mistakes early and short-circuit debugging
- CodePen: quickly experiment with HTML, CSS, JS and see the results live
Cheatsheets
- HTML Cheatsheet by MDN
- HTML Cheatsheet by Code Academy: All intro HTML concepts in one place for easy reference
Tutorials